


1″ Bevel Slat Tambour – Thin

5 discount codes
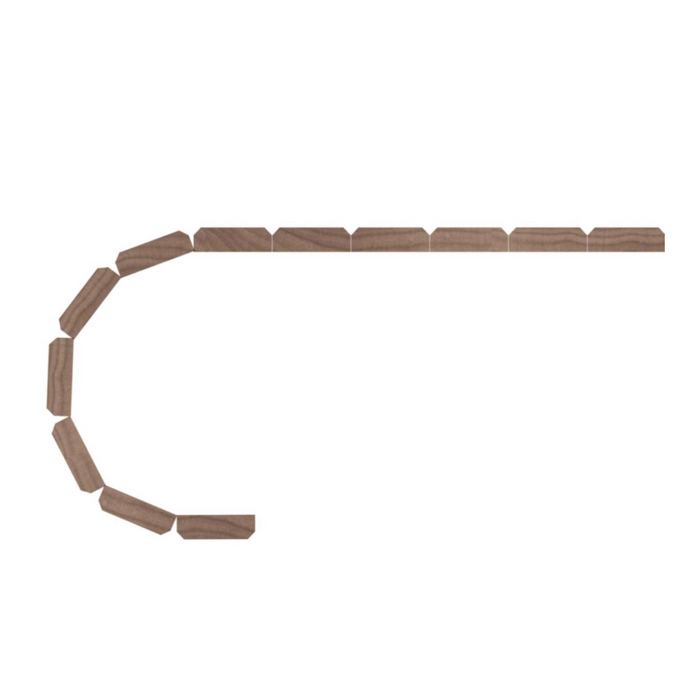
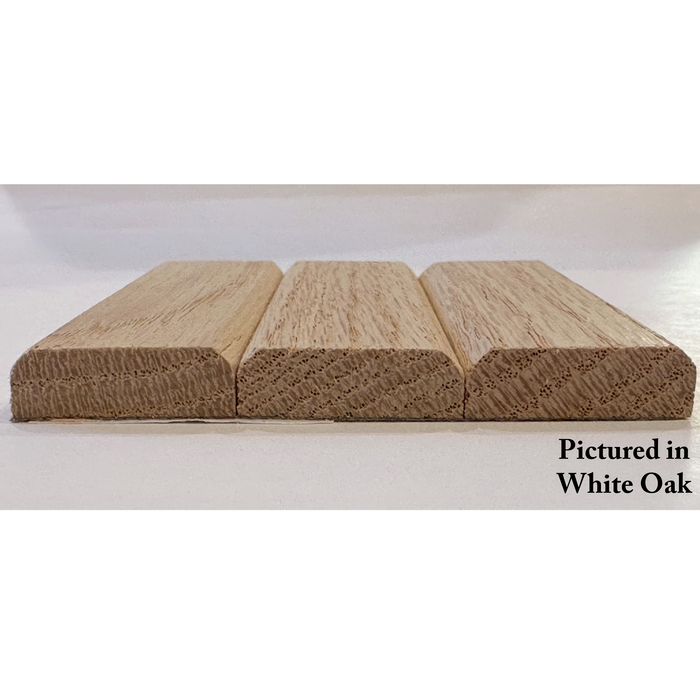
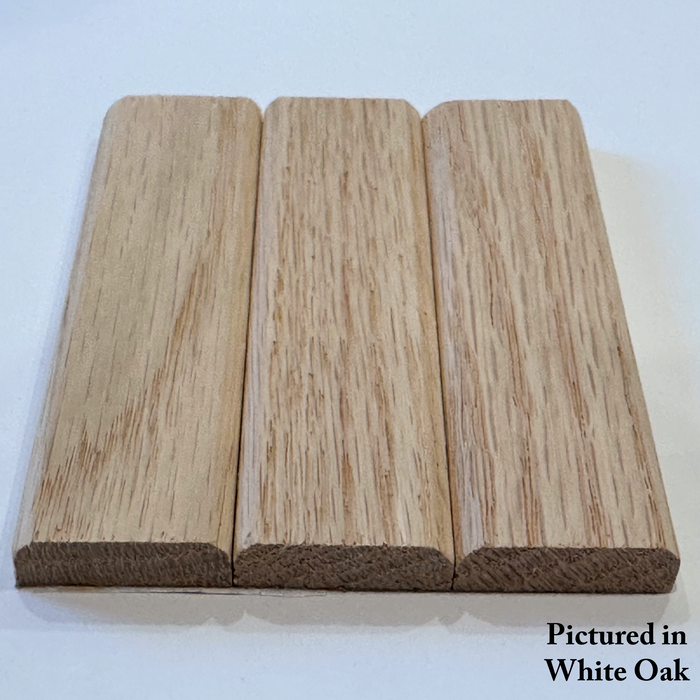
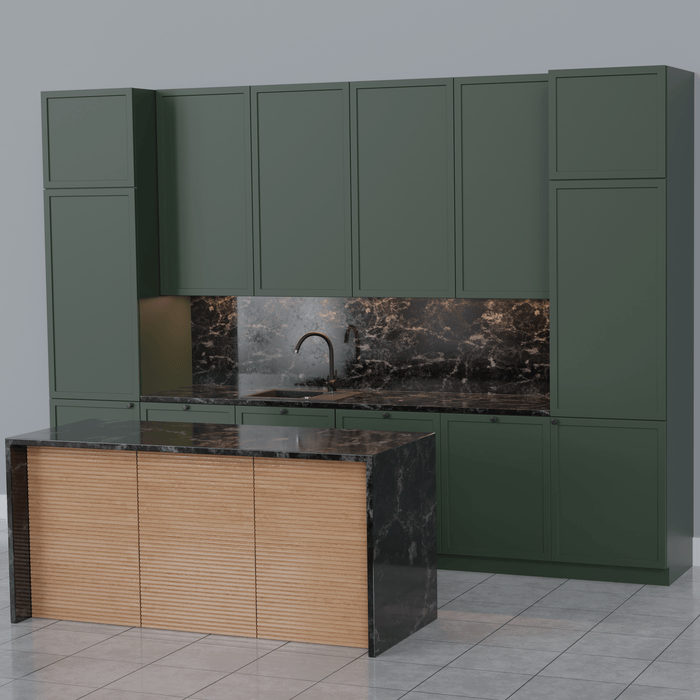
<h2 data-mce-fragment="1"><b data-mce-fragment="1">Elevate Your Interiors with White River's Easy-to-Install Tambour Panels 🏡🌟</b></h2> <p><br data-mce-fragment="1"></p> <p data-mce-fragment="1"><span data-mce-fragment="1" style="font-weight: 400;">Greetings, design and architecture aficionados! 🎨 Are you looking for an elegant yet simple way to transform your spaces? Your quest ends here with White River Hardwoods' high-quality Tambour panels. Easy to install and incredibly versatile, these solid wood panels come with a flexible backing that easily bends, perfect for fitting into curves and corners.</span></p> <p><br data-mce-fragment="1"></p> <p data-mce-fragment="1"><span data-mce-fragment="1" style="font-weight: 400;">🛠️</span><b data-mce-fragment="1"> Installation Simplified</b></p> <p data-mce-fragment="1"><span data-mce-fragment="1" style="font-weight: 400;">Use standard construction or paneling adhesive to attach the Tambour panels onto any solid substrate. If you're dealing with thicker profiles, consider using finishing nails or temporary bracing until the glue sets, ensuring a flawless application.</span></p> <p><br data-mce-fragment="1"></p> <p data-mce-fragment="1"><span data-mce-fragment="1" style="font-weight: 400;">🌈 </span><b data-mce-fragment="1">Design Versatility</b></p> <p data-mce-fragment="1"><span data-mce-fragment="1" style="font-weight: 400;">Each panel features natural variations in color and grain, adding depth and texture to your design. With 1" slat width x 5/16" thickness, these panels can effortlessly bend around curves and corners, elevating your project's aesthetics.</span></p> <p><br data-mce-fragment="1"></p> <p data-mce-fragment="1"><span data-mce-fragment="1" style="font-weight: 400;">🇺🇸 </span><b data-mce-fragment="1">Unmatched Quality</b></p> <p data-mce-fragment="1"><span data-mce-fragment="1" style="font-weight: 400;">Proudly made in the USA from premium North American hardwoods, our Tambour panels arrive sanded and ready for your choice of stain or paint. Remember to allow the material to stretch and acclimate for at least 48 hours before finishing. </span></p> <p data-mce-fragment="1"> </p> <!-- WRH | Flexible Wood Tambour — Installation Guide --> <section id="wrh-tambour-instructions" aria-label="Flexible Wood Tambour Installation Guide"> <style> #wrh-tambour-instructions{--bg:#fff;--ink:#222;--muted:#666;--brand:#0b5;--accent:#c62828;--card:#f7f7f8;--line:#e7e7ea;--radius:14px;--shadow:0 6px 18px rgba(0,0,0,.06);} #wrh-tambour-instructions *{box-sizing:border-box} #wrh-tambour-instructions .wrap{max-width:1100px;margin:0 auto;padding:28px 18px;color:var(--ink);background:var(--bg)} #wrh-tambour-instructions h2{font-size:1.9rem;margin:0 0 .5rem} #wrh-tambour-instructions p.lede{color:var(--muted);line-height:1.6;margin:0 0 1.25rem} #wrh-tambour-instructions .toc{display:flex;gap:.5rem;flex-wrap:wrap;margin:0 0 18px} #wrh-tambour-instructions .toc a{display:inline-block;padding:8px 10px;border:1px solid var(--line);border-radius:999px;text-decoration:none;color:var(--ink);font-size:.9rem;background:#fff} #wrh-tambour-instructions .grid{display:grid;grid-template-columns:1fr 1fr;gap:16px} @media (max-width: 900px){#wrh-tambour-instructions .grid{grid-template-columns:1fr}} #wrh-tambour-instructions .card{background:var(--card);border:1px solid var(--line);border-radius:var(--radius);box-shadow:var(--shadow);padding:18px} #wrh-tambour-instructions .card h3{margin:.2rem 0 10px;font-size:1.2rem} #wrh-tambour-instructions .eyebrow{display:inline-flex;align-items:center;gap:.5rem;font-size:.9rem;color:#0a0a0a;background:#e8f5ee;border:1px solid #d4eadf;padding:6px 10px;border-radius:999px;margin:0 0 10px} #wrh-tambour-instructions .eyebrow .dot{width:8px;height:8px;background:var(--brand);border-radius:50%} #wrh-tambour-instructions ul{margin:0;padding-left:1.2rem} #wrh-tambour-instructions li{margin:.4rem 0;line-height:1.5} #wrh-tambour-instructions .note{background:#fff;border-left:4px solid var(--brand);padding:10px 12px;border-radius:8px;margin-top:10px;color:#0b3a29} #wrh-tambour-instructions .cta-row{display:flex;flex-wrap:wrap;gap:8px;margin:16px 0 6px} #wrh-tambour-instructions .btn{display:inline-block;text-decoration:none;padding:10px 14px;border-radius:10px;font-weight:600;border:1px solid var(--line);background:#fff;color:#111} #wrh-tambour-instructions .btn.primary{background:var(--brand);border-color:var(--brand);color:#fff} #wrh-tambour-instructions .btn.warn{background:var(--accent);border-color:var(--accent);color:#fff} #wrh-tambour-instructions details{margin:.4rem 0} #wrh-tambour-instructions summary{cursor:pointer;user-select:none;font-weight:600} #wrh-tambour-instructions .hash{margin-top:18px;color:var(--muted);font-size:.9rem} </style> <div class="wrap"> <h2>Instructions for Installation of Tambour 🛠️</h2> <p class="lede"> Flexible Wood Tambour is an interior-only product that combines warm, natural texture with versatility. Proper storage, handling, finishing, and installation are essential to preserve its look and performance. Use this guide from receiving through final install to get reliable, long-lasting results. </p> <!-- Quick Links --> <nav class="toc" aria-label="Table of contents"> <a href="#storage">Storage & Handling</a> <a href="#finishing">Finishing</a> <a href="#installation">Installation</a> <a href="#tips">Pro Tips</a> </nav> <div class="grid"> <!-- Storage & Handling --> <article id="storage" class="card"> <span class="eyebrow"><span class="dot"></span> Storage & Handling</span> <h3>Keep material flat, clean, and acclimated</h3> <ul> <li>Interior use only. Not for wet or high-humidity areas (showers, bathrooms, pools).</li> <li>On receipt, store in a controlled environment; allow <strong>24–48 hours</strong> to acclimate, lying flat.</li> <li>Before finishing or install, lightly roll/unroll to flex the backing; hold rolled position 5+ seconds then return flat.</li> </ul> <div class="note">Why acclimate? It stabilizes moisture content, reducing movement after install.</div> </article> <!-- Finishing --> <article id="finishing" class="card"> <span class="eyebrow"><span class="dot"></span> Finishing</span> <h3>Finish before or after install</h3> <ul> <li>Use standard wood finishing techniques (paint or stain) before <em>or</em> after installation.</li> <li>Panels can be gently rolled or “slumped” to help finish reach between slats.</li> </ul> <details> <summary>Finishing tip</summary> <ul> <li>Test on an off-cut or inconspicuous area to confirm color, penetration, and adhesion.</li> </ul> </details> </article> <!-- Installation --> <article id="installation" class="card"> <span class="eyebrow"><span class="dot"></span> Installation</span> <h3>Prep surface and use full, even adhesive coverage</h3> <ul> <li>Install vertically or horizontally; always dry-fit first.</li> <li>Substrate/wall must be clean and sound (no dust, grease, or debris).</li> <li>Install in a controlled environment (standard room temp/humidity).</li> <li>Approved adhesives: PVA, contact, epoxy, or high-quality panel adhesive (e.g., <strong>Titebond Fast Grab FRP</strong>).</li> <li>For panel adhesive: trowel for <strong>80–100% coverage</strong> to within ¼″ of edges.<br>Using a gun? Continuous beads around the perimeter + horizontal beads every 4–6″.</li> <li>Clean any squeeze-out immediately to avoid residue on slat faces.</li> <li>Test a small area first to confirm adhesion.</li> <li>Optional: trim screws or nails at installer’s discretion.</li> <li>After placement, apply firm, uniform pressure across entire panel. Use a ¾″ sacrificial board when tapping/hammering.</li> <li>Leave a hairline gap between adjacent panels to accommodate minor movement in service.</li> <li> <strong>Do not</strong> mount cabinets/furniture through tambour into the wall; movement can cause buckling and void warranty.</li> </ul> <div class="cta-row"> <a class="btn primary" href="#tips">View Pro Tips</a> <a class="btn" href="#top">Back to Top</a> <a class="btn warn" href="#warranty">Warranty Reminder</a> </div> </article> <!-- Pro Tips --> <article id="tips" class="card"> <span class="eyebrow"><span class="dot"></span> Pro Tips</span> <h3>Handling, Finishing, Installation</h3> <ol> <li> <strong>Pre-stretch inward:</strong> Before attaching, roll the panel inward to stretch the backing.</li> <li> <strong>Flex outward with intent:</strong> Flex outward firmly to fully stretch the paper backing. Properly stretched panels are easier to handle and more compliant.</li> <li> <strong>Leave micro-gaps:</strong> Space adjacent panels roughly the thickness of two stacked business cards to allow natural wood movement.</li> </ol> </article> </div> <!-- Warranty Note --> <article id="warranty" class="card" style="margin-top:16px"> <h3 style="margin-top:0;">Warranty Reminder</h3> <p class="note" style="margin:0"> Warranty may be voided if panels are installed in high-moisture environments or if cabinetry/furniture is mounted through the tambour. Always follow adhesive manufacturer’s instructions. </p> </article> <p class="hash">#TambourPanels #DesignVersatility #QualityCraftsmanship #WhiteRiverHardwoods 🌟</p> </div> </section>
Save on 1″ Bevel Slat Tambour – Thin with a White River Hardwoods discount code
Checkmate is a savings app with over one million users that have saved $$$ on brands like White River Hardwoods.
The Checkmate extension automatically applies White River Hardwoods discount codes, White River Hardwoods coupons and more to give you discounts on products like 1″ Bevel Slat Tambour – Thin.
Top White River Hardwoods discount codes
2 people have used this White River Hardwoods discount
Last used 8 months ago
Take 10% Off All Items With Promo Code
Last used 8 months ago
1 person has used this coupon
Last used 8 months ago
See all codes

Similar items


